
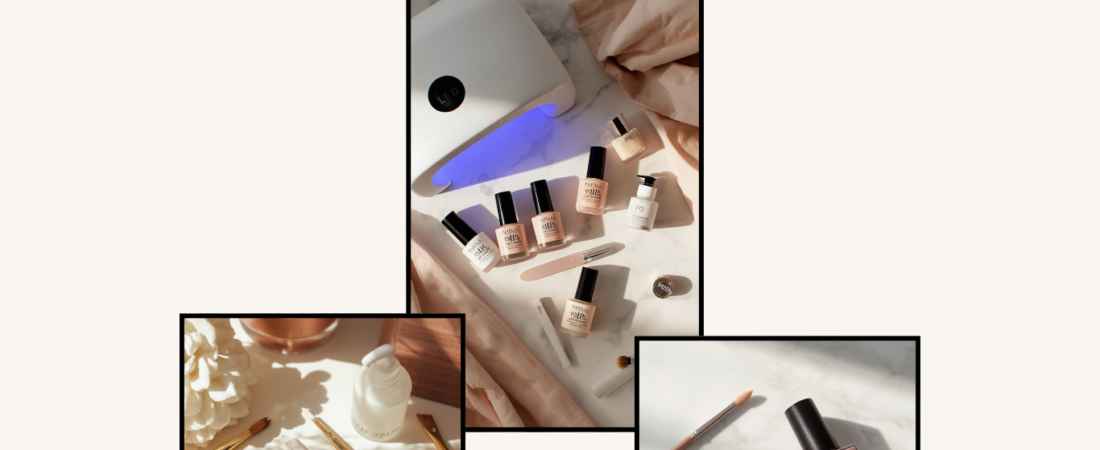
My Complete At-Home Nail Routine Start to Finish
I’ve been doing my own nails at home for a while now, and I’m not going back to the salon for regular maintenance. Once you have the right setup it’s not that complicated — and the results last just as long for a fraction of the cost.
Here’s exactly what I use and how I do it, from start to finish. Everything is linked.
This post contains affiliate links. As an Amazon Associate I earn from qualifying purchases — at no extra cost to you. I only recommend products I personally use.
WHAT I WORK WITH
My routine combines dip powder and hard gel depending on what I’m going for. A lot of the tools overlap regardless of which method you’re using, so this setup covers both. I’ll walk through the steps in order.
STEP 1: SHAPE AND PREP
The first thing I do is prep. I use the nail drill to shape the nail, clean up any existing product if I’m doing a fill, and lightly buff the surface so everything adheres properly. Then I file any rough edges before moving on.
GIGAGROUND 80/80 GRIT NAIL FILES
https://amzn.to/43JqsnZ
80 grit is what you want for acrylic or hard gel — coarse enough to actually do something without destroying the nail.
COSLUS C20 CORDLESS NAIL DRILL
https://amzn.to/4eULc2j
⚑ NOTE: Confirm this URL is correct — it appears to match the Revel Liquid Set link. Verify before publishing.
Cordless is the move here. Easier to maneuver, no cord in the way. I use this to prep the nail surface, do fills, and shape extensions.
STEP 2: DEHYDRATE AND PRIME
Apply dehydrator and primer before any product goes down. This step is what makes everything last. Don’t skip it.
BEETLES NAIL DEHYDRATOR & PRIMER
https://amzn.to/4vpMhVV
Dehydrator first, let it dry, then primer. Straightforward, and it makes a real difference in longevity.
STEP 3: APPLY PRODUCT
For Dip Powder:
REVEL NAIL DIP POWDER LIQUID SET
https://amzn.to/4eULc2j
⚑ NOTE: Confirm this URL — see note on nail drill above.
The set of liquids you need for dip — base, activator, top coat. I’ve used Revel for a while and it consistently goes on smooth with a finish that holds.
REVEL NAIL DIP POWDER
https://amzn.to/4vntGth | https://amzn.to/4ezD5qq
My go-to colors. I rotate through a few shades depending on what I’m feeling.
For Hard Gel:
BEETLES 3PC BUILDER NAIL GEL, TOP & BASE COAT
https://amzn.to/4ezD5qq
⚑ NOTE: Confirm this URL doesn’t overlap with the dip powder links above.
These were a desperate buy — I realized I was out and needed something fast. I ended up really liking them. Goes on nicely, and the top coat has a great shine that holds until the next manicure. They’ve stayed in my rotation since.
BEETLES GEL POLISH NAIL ART BRUSHES
https://amzn.to/3SkgDdO
Good brushes make a real difference in how cleanly gel applies. I use different shapes for building and detail work.
STEP 4: CURE
After each layer of gel or top coat, it goes under the lamp.
SUNUV UV/LED NAIL LAMP
https://amzn.to/3QEoy4S
Works for both UV and LED gel formulas. This is the lamp I’ve used consistently — cures quickly and evenly.
STEP 5: CLEAN UP
After curing there’s usually a slight tacky layer on the surface. Wipe it off before the next step.
ALCOHOL PADS / PUMP DISPENSER
https://amzn.to/3SgAgU1
I keep the pump dispenser on the table and use pads to clean the nail surface after each cure. Simple but necessary.
STEP 6: CLEAN YOUR BRUSHES
Don’t skip this. Clean them right after you’re done. It takes an extra minute and makes your brushes last significantly longer.
BEETLES NAIL ART BRUSH CLEANER AND CONDITIONER
https://amzn.to/4uMeViM
Keeps the bristles in good shape and prevents them from hardening. Worth every penny.
FOR EXTENSIONS: NAIL FORMS
SANDWICH NAIL FORMS
https://amzn.to/4aVUp83
These hold in place and give you a clean surface to build from. Easy to work with once you get the hang of placing them.
That’s the whole routine. Written out it sounds like a lot of steps, but once you’ve done it a few times it moves quickly. I usually set aside about an hour and a half for a full set, less for a fill.
The biggest things: a lamp that actually cures properly, prep the nail every single time, and keep your brushes clean. Everything else is just practice.